Classifier Model Predicting
In the previous section, we have trained a classifier model. In this section, we will use this model to classify objects.
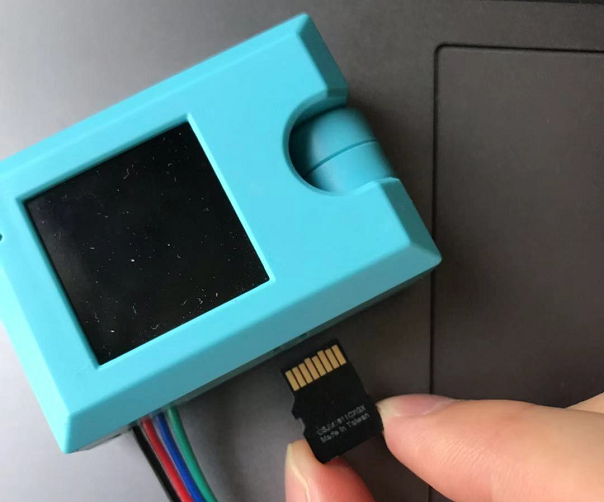
Install an SD Card
The trained model will be stored on an SD card, without an SD card we won’t be able to save this model.

Program Flow
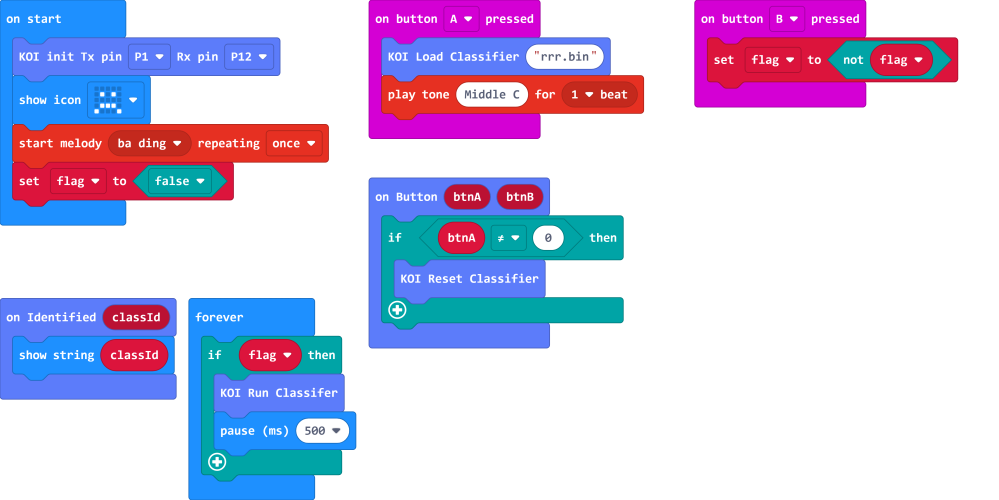
1: Download the program to the Micro:bit.
2: Press button A to load the classifier model.
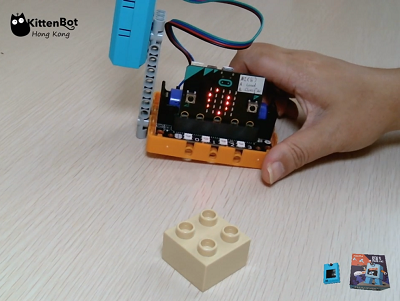
3: Put the object in front of the camera. Press button B to run the classifier.
4: The tag of the object will be displayed on the Micro:bit.
Demo video:
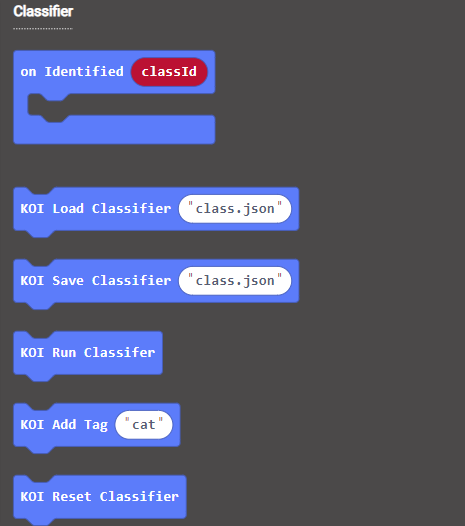
Sample Code:
Extension Version and Updates
There may be updates to extensions periodically, please refer to the following link to update/downgrade your extension.
FAQ
1: There is no reaction after pressing the buttons on the Micro:bit.
· A: This is because KOI has a longer boot time than Micro:bit. When the power is turned on, Micro:bit has already ran the code for KOI initialization before KOI is ready.
· Solution: Reset your Micro:bit after KOI has been turned on. (The trick is to let KOI power on completely before initialization.)
2: Does KOI work with 3V input?
· A: No, KOI only works with 5V.
3: KOI gives a warning message when I try to train a classifier.
· A: The classifier hasn’t been reset.
· Solution: Run the block for classifier reset, KOI will display a success message.